

by Grom Matthies
When the Moon is full, as it rises on the horizon, sometimes it looks like a big cheese. People can swear that it is bigger near the horizon than up there in the sky. Is this a Moon Illusion? Why does this happen?
A good explanation can be found here: http://science.nasa.gov/science-news/science-at-nasa/2005/20jun_moonillusion/
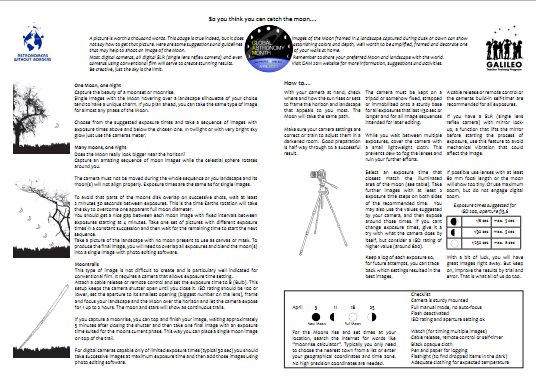
How about you try it yourself. Make pictures of the Moon along the night and try to find out if this is true or not. To help you in this quest we have assembled a nice set of tips to Photograph the Moon.
Photographing the Moon through a telescope
Astronomers use sophisticated and dedicated cameras to take images from objects in the sky. Those cameras are directly attached to a telescope, which then works rather like a special telephoto lens.
One alternative to capture the moon with more conventional cameras is called ocular projection. Here a camera captures what your eye sees through the telescopes exit lens, the ocular. You would usually need a support to attach and keep the camera at the optimal position over the oculars exit lens, but with a bit of trial and error, persistence and a sturdy hand, it can be done without anything special.
What is needed
A working telescope pointing to the moon
Any type of camera. With lot of luck even those of mobile phones may work.
Optional is patience, luck, persistence and no naggers around.
How to
First, center the lunar landscape you wish to capture with the telescope. If the telescope does not follow your target automatically, compensating Earths rotation, you may have to figure out how much time you take to get a picture taken. You then offset the moon inside the telescopes view for the right amount, so once the estimated time has passed your target object is back in the center field of view. On telescopes without automated tracking of the sky, keep the magnification as low as possible by using oculars with longer focal length, i.e. with higher numbers printed on them than on other available oculars.
If possible, disable autofocus and set your camera to focus to infinite. Usually it serves to focus the horizon or set the camera to capture panoramic view. If adjustable, use exposure times below 1/30 sec and consider trial exposures with at least four different time settings.
Now, hold your camera lens perfectly aligned with the telescopes exit lens and keep it at a very short distance, usually no more than two fingers thickness. Every ocular and photo lens work different, so you will have to figure out what distance between ocular and camera lens will produce the largest field of view and still allows for a sharp image. The image you see is likely surrounded by lot of black space. This looking through a tunnel effect is unavoidable.
Finally, use the telescopes focuser button, not the camera, to sharpen the image. On digital cameras, use the life-view to evaluate the sharpness. For all other camera types, you will have to find a method to get a sharp image or just have plain luck.
Any tricks?
If you have time or can repeat the experience on several days, figure out how much space you need between camera and telescope. Use a cardboard tube that tightly fits over the ocular. Cut it to a proper length so that the camera can be placed flat onto the tube. The idea here is that you do not have to try to find the correct distance every time you want to take another image. This also will reduce stray light entering the camera lens. Just place the tube over the ocular, hold the camera flat onto the tubes upper rim, center and focus the image…and shoot.
You can easily record one or every single phase of the Moon or capture the beauty of our Moon set against a landscape you like. This can be done with any type of camera, being it digital or with conventional film. Download and print a single page Pdf-file (click here) with a few suggestions and guidelines to consider for different ways to image the Moon.
Photographing the Moon with a camera
![]()